


In manufacturing, “cycle time” is a familiar phrase, but in injection molding it deserves close attention. It represents the total time needed to complete one full production cycle and serves as the operational heartbeat of the molding process. Design, material, process, quality, and production decisions all influence this critical metric.
How to Measure Injection Molding Cycle Time
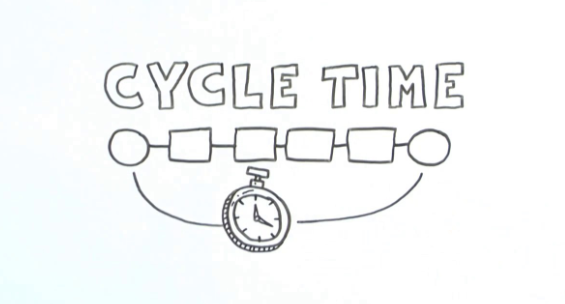
The clearest way to picture cycle time is to watch the interval between finished parts. It is the time from the moment one completed part is removed from the mold to the moment the next identical part is removed. In an automated molding cell, this rhythm is easy to see: a robot arm enters the mold area, extracts a part, retracts, and the machine prepares for the next shot. The time between two consecutive part removals is the cycle time.
The Five Stages of a Cycle
To optimize cycle time, break the full cycle into its main stages: clamping, injection and packing, cooling, mold opening, and ejection. Expressed as a formula, Cycle Time = Clamping Time + Injection/Packing Time + Cooling Time + Opening Time + Ejection Time. Each stage contributes to the total, so improvements must be evaluated across the entire process rather than in isolation.
Cycle Time and Production Capacity
Cycle time has a direct effect on production capacity. The relationship can be stated simply: Hourly Production Output = 3600 seconds / Cycle Time in seconds. This formula is fundamental to capacity planning. A faster cycle raises output from the same equipment and workforce. In one illustrative case, a 6.7% increase in output was achieved without adding a machine or an operator. Over a month or a year, those saved seconds compound into meaningful gains in capacity and profitability.
Where the Seconds Actually Go
Cooling usually dominates the cycle, often consuming half or more of the total time. That makes cooling design the highest-leverage target: conformal cooling, baffles, and balanced circuits can remove heat faster without changing the part. Injection time is limited by material and wall thickness, and pushing it too hard causes flash or jetting. Clamping and ejection are usually short but can grow when tonnage is mismatched or ejection is poorly designed.
Optimizing Without Hurting Quality
- Validate any cycle reduction against dimensional and cosmetic requirements
- Check that internal stress has not increased, which causes later warpage
- Confirm that packing time still produces the required part weight
- Review robot and conveyor timing, which are often the hidden bottleneck
Frequently Asked Questions
What is a typical cycle time?
It ranges from a few seconds for small thin-wall parts to several minutes for large, thick components. Cooling dominates in most cases.
Can cooling time simply be cut?
Only within limits. Ejecting too early causes warpage and sink marks that appear after the part leaves the mold.
Does a faster cycle always lower cost?
It lowers machine cost per part, but only if quality holds. Scrap from an unstable cycle erases the gain.
Conclusion
Injection molding cycle time is a design and tooling outcome as much as a machine setting. Measure the stages, target cooling, and validate every change. For related reading, see injection molding and our guide to cooling design, or contact TCHD to review your tool.