


31Oct2026
Injection Mold Quality: Ten Factors Engineers and Sourcing Teams Should Evaluate
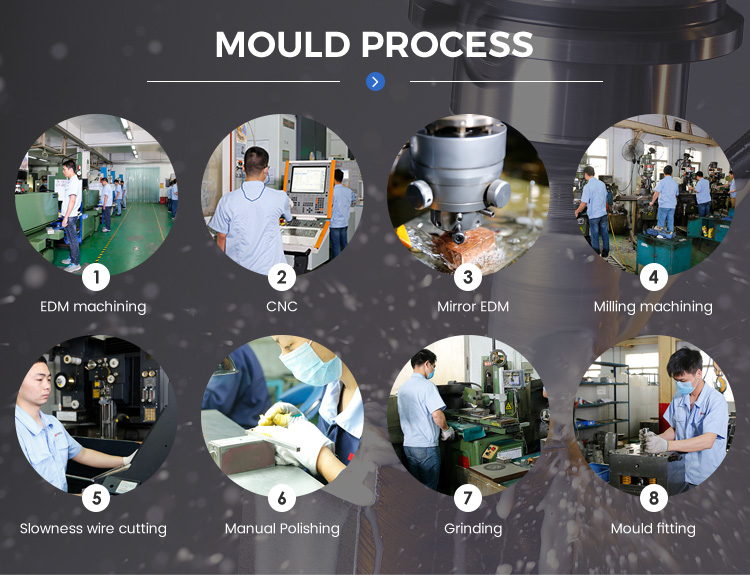
Injection mold quality is not a certificate or a surface finish. It is the sum of decisions made from steel selection through daily maintenance, and it shows up months later as stable output or as a stream of defects. Ten areas cover most of what determines whether a tool earns its cost. Injection Mold Quality Starts With Steel Selection Grade choice should follow the resin and the expected life, not the price list. Abrasive glass-filled material wears soft steel quickly; corrosive PVC or flame-retardant grades attack unpolished surfaces. P20 suits moderate volumes, H13 and S136 cover harder and more corrosive duty, and a premium grade on a short-run tool is money spent without return. Structure Design Drives Reliability A mature structure accounts for shrinkage, molding temperature, elastic deformation under injection pressure, cooling layout, and cycle target. Undersized support plates deflect, and the resulting flash appears as a process problem that no parameter change can fix. Ejection, slider, and lifter design belong in this stage, not in the debugging stage. Machining Sequence and Process Planning The order of roughing, stress relief, semi-finishing, heat treatment, and final finishing determines whether dimensions hold. Skipping stress relief on a large cavity insert produces movement after assembly. A clear process plan also shortens lead time, because each operation is prepared before the previous one ends. Standard Components and Forming Inserts Guide pins, springs, and ejector components do not shape the part, but they govern whether the tool runs smoothly for years. Brand and hardness matter more than price at this level. The inserts that form the part test the mold maker's skill: thin walls, deep ribs, and sharp corners leave little room for error in grinding and polishing. Polishing and Texture Surface work is often the last operation and the easiest to rush. A polish...
read more
31Oct2026
Plastic Material Properties and Injection Molding Guide for ABS, PA6, PC, PC/ABS, and PP
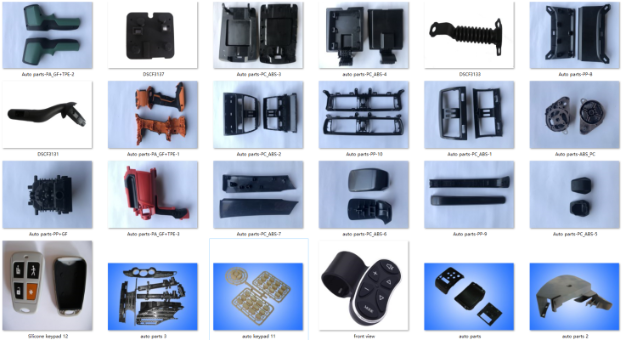
This guide explains the design, material, process, quality, and production factors engineers and sourcing teams should review when choosing plastics. It covers ABS, PA6, PC, PC/ABS, and PP properties, applications, drying requirements, melt and mold temperatures, injection pressure, and speed. It also highlights how TCHD’s material expertise and dedicated warehouse help prevent shortages and support continuous production.
read more
31Oct2026

Liquid Silicone Rubber (LSR): Properties, Applications, and Injection Molding Benefits
Liquid silicone rubber is a two-part, platinum-cured silicone supplied as a flowable liquid rather than a gum. It cures fast in a heated mold, releases cleanly, and holds tolerances that solid silicone struggles to match. That combination explains why it has moved from niche medical parts into automotive, electronics, and consumer products. Liquid Silicone Rubber Properties That Matter in Design LSR offers high clarity, good tear strength, strong rebound, and resistance to yellowing. It stays flexible from roughly -50 to 200 degrees Celsius depending on grade, resists water and many chemicals, and can be formulated for electrical conductivity or thermal conduction. Shrinkage is low, around 0.1 to 0.3 percent, which suits precision parts. How LSR Differs From HTV Silicone High-temperature vulcanized silicone is a gum that must be mixed, cut, and formed under high pressure. LSR arrives pre-mixed in two components, is metered by a dosing pump, and cures in seconds because platinum catalysis is fast. The result is tighter dimensional control, less manual handling, and lower contamination risk, at the cost of specialized equipment. Medical Applications Biocompatibility, sterilization resistance, and transparency make LSR a natural fit for seals, valves, catheters, and wearable device interfaces. Medical grades are supported by ISO 10993 testing and can be processed in an ISO 13485 environment. Soft grades feel comfortable against skin, which matters for long-wear devices. Automotive and Electronics Uses Under-bonnet components benefit from heat and oil resistance. Connector seals, battery thermal pads, sensor gaskets, and keypads use LSR for reliable sealing across temperature swings. Flame-retardant grades serve enclosures, and optically clear grades serve light guides and lenses. Consumer and Industrial Parts Watch bands, cookware gaskets, and grips use LSR where skin contact and heat resistance matter. Industrial uses include diaphragm valves and food-grade seals, where the material must resist cleaning chemicals without...
read more
31Oct2026
Ultrasonic Welding Plastic Parts: Design, Material, Process, and Production Guide
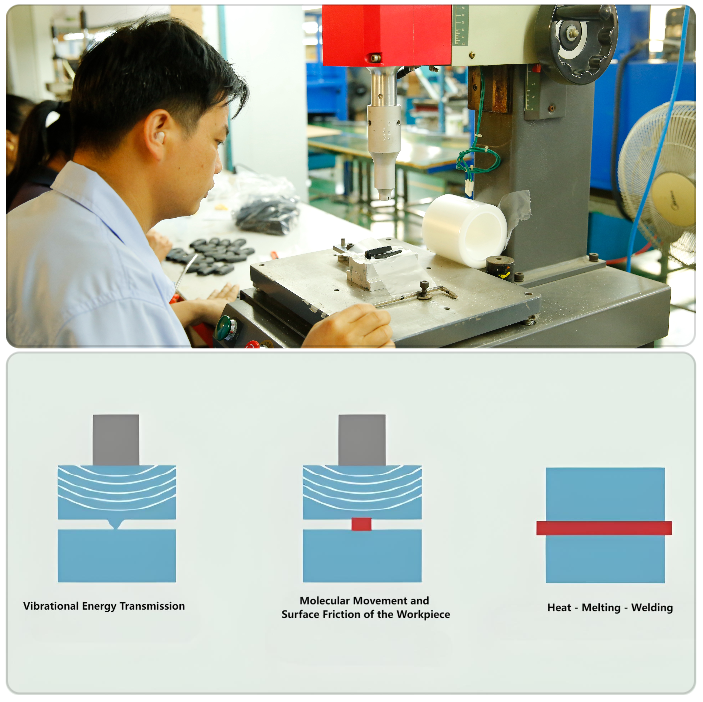
Ultrasonic welding converts high-frequency vibration into heat at the interface between two plastic parts. The joint melts and fuses in a fraction of a second, without solvent, adhesive, or fasteners. For housings that must be sealed, it is often the only assembly method that meets both the leak specification and the cycle time. How the Process Works A sonotrode presses the upper part against the lower one while a transducer delivers vibration at 20 to 40 kHz. The energy director, a small molded ridge on one surface, concentrates the vibration until it melts and flows into the joint. Pressure holds the parts together while the melt solidifies, usually within a second or two. Joint Design The energy director is a triangular ridge with a sharp apex, typically 0.5 to 1 mm tall, sized against the wall thickness. A shear joint gives a stronger hermetic seal on semi-crystalline resins because the interface slides and melts along a vertical wall. A step joint locates the parts and hides the weld line on cosmetic surfaces. Wall Thickness and Support The joint area must be supported by rigid walls; a thin unsupported flange flexes and welds unevenly. Where the housing is thin, a molded rib behind the joint prevents the sonotrode from marking the visible surface. Material Compatibility Amorphous resins such as ABS, PS, and PC weld easily because they soften gradually. Semi-crystalline resins such as PP, PE, and PA need higher amplitude and a shear joint, and they resolidify quickly. Dissimilar materials weld only when their melting ranges overlap; otherwise the joint is mechanical at best. Glass filler and mold release agents reduce weld strength. Process Settings Amplitude matched to the resin and joint type Weld pressure high enough to keep surfaces in contact Weld time or energy set by collapse distance, not...
read more
31Oct2026
Custom Silicone Rubber Molding: Design, Material, Process, and Production Support
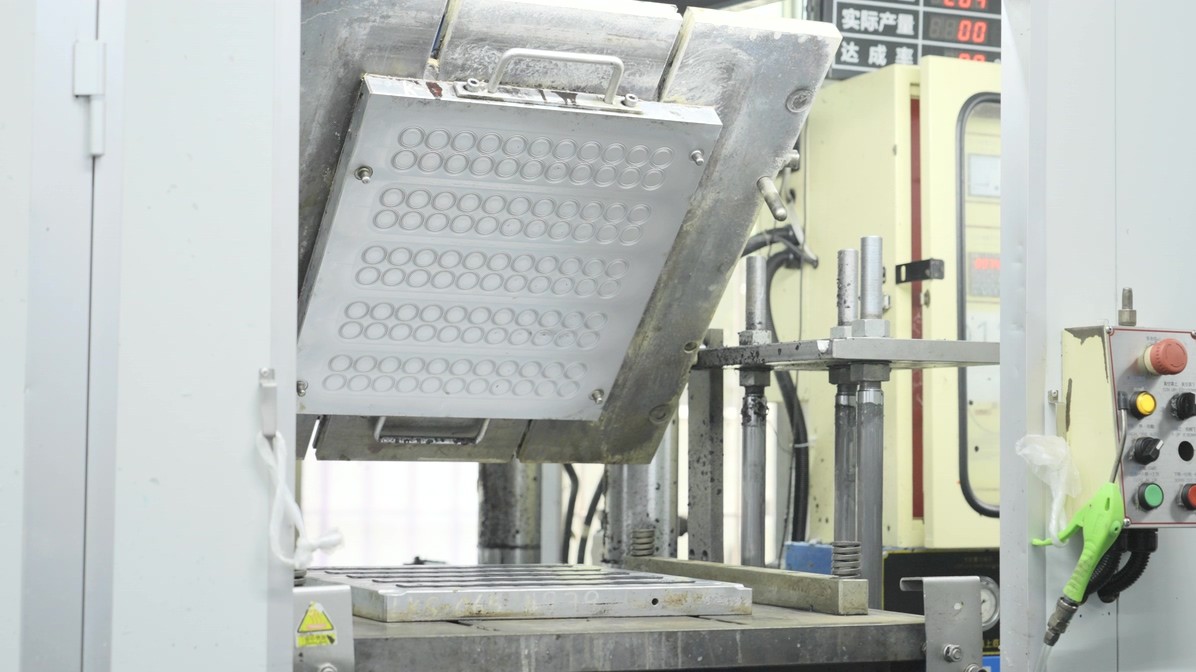
Custom silicone rubber molding covers a wide range: a soft gasket that seals a housing, a keypad with tactile ribs, a translucent tube that must stay clear after sterilization. Each starts the same way, with a design and a compound choice that decide how the part behaves in the tool and in service. Starting From the Application The brief should state temperature range, chemical exposure, hardness, color, and any compliance requirement such as FDA, LFGB, or USP Class VI. Without those, a supplier picks a general-purpose compound and the part fails on the one property that mattered. Compression set, tear strength, and elongation at break often matter more than tensile strength in sealing work. Compound Selection and Hardness Shore A hardness from 20 to 80 covers most parts. Softer compounds seal at low force but tear easily during demolding; harder compounds resist extrusion but need more clamp load. Filler type affects clarity, and platinum-cured grades are chosen where extractables or odor are concerns. Pigments and curing agents also influence cure speed, so color changes should be re-validated. Silicone Rubber Molding Methods and Their Fit Compression molding suits large parts and low volume, transfer molding improves dimensional control for small parts with inserts, and liquid silicone rubber injection molding gives the tightest tolerances and fastest cycles at volume. The method should follow geometry and quantity, not shop habit. Tool Design for Silicone Plan for high shrinkage, typically 2 to 4 percent depending on compound Provide generous draft; silicone grips polished steel Design the parting line away from sealing surfaces Allow for flash thickness at the parting line in the tolerance stack Vent the cavity, since trapped air creates voids in thick sections Cure Control and Quality Cure time, temperature, and pressure decide whether the part is fully vulcanized. Under-cured silicone feels...
read more
30Oct2026
Precision Laser Etching for Backlit Plastic Buttons
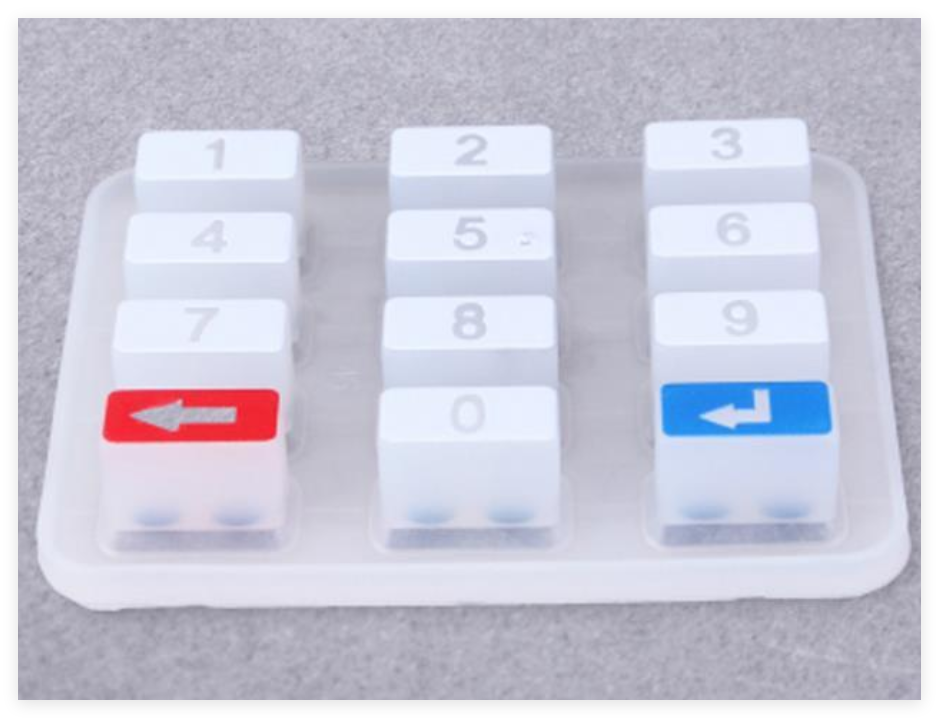
Laser etched backlit buttons are small parts with an outsized effect on how a product feels. The etched legend decides how evenly light spreads, how sharp a symbol looks when the button is lit, and whether lot ten matches lot one. Engineers and sourcing teams should treat the marking step as a process with real process windows, not as a cosmetic afterthought. Why Laser Etched Backlit Buttons Need Special Process Control Conventional etching can leave carbonized residue on light-transmitting resins. That residue blocks light, so symbols look dull or patchy and brightness drops sharply across the legend. In many cases standard processing can cut light transmission by more than half. A controlled process removes or modifies material without charring the substrate, which keeps throughput high and produces crisp backlit symbols. Substrate Selection for Light Transmission Light pipes, diffusers, and button caps behave differently depending on resin. Polycarbonate offers toughness and good clarity but is sensitive to heat input. PMMA gives excellent light transmission but is brittle under impact. ABS and PC/ABS blends are common for painted and laser-etched keypads because they take a clean etch through a dark coating. Specify transmission targets, color temperature expectations, and any UV or chemical exposure before the resin is locked. Laser Parameters That Decide Symbol Clarity Power, pulse frequency, marking speed, hatch spacing, and focus all interact. Too much energy carbonizes the surface; too little leaves a hazy legend with low contrast. A design of experiments on the actual substrate, coating, and etch depth is the reliable route, followed by a fixed parameter recipe per part family. Because the window is narrow, the recipe should be documented and locked, with a coupon test at the start of each production run. Optical Design and Light Path An etched legend is only as good as the...
read more
30Oct2026
Plastic Heat Staking and Heat Riveting: Building Reliable Plastic-to-Metal Joints
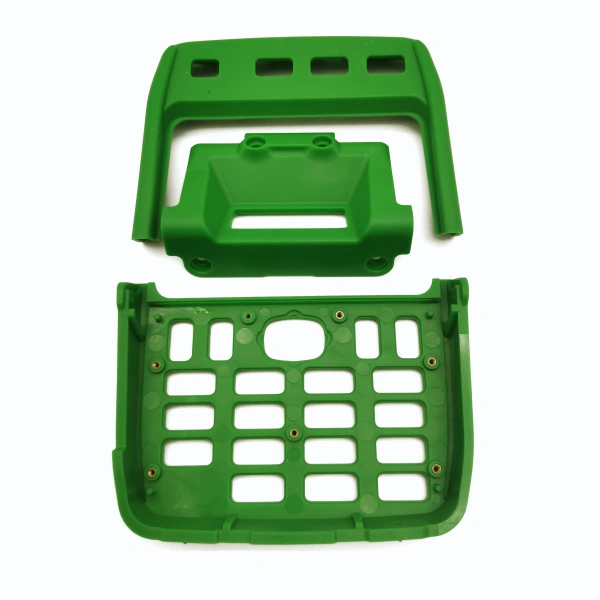
Heat staking turns a thermoplastic boss or hole into a permanent mechanical joint. Localized heat softens the polymer, pressure forms it around a metal insert or over a mating part, and cooling locks the assembly. No screws, no adhesive, and no separate fastener inventory. The same principle, applied to a plain plastic stud, is heat riveting. Heat Staking Versus Heat Riveting Heat staking embeds a metal insert, usually brass, into a molded hole so the part gains a durable thread or a reinforced mounting point. Heat riveting reforms a plastic stud into a head that clamps a metal plate or a second component. Staking adds hardware and a reusable thread; riveting avoids hardware entirely and produces a joint that is not meant to come apart. When Each Method Fits Choose staking when the assembly needs service access, repeated torque, or a defined pull-out strength. Choose riveting when the joint is permanent, the stack is thin, and cost per unit matters. Both suit high-volume lines because cycle times run in seconds and the equipment can be automated with a rotary table. Design Rules for Bosses and Holes Keep boss wall thickness at roughly half the nominal wall to avoid sink Provide a lead-in chamfer so the insert starts straight Size the hole for the insert's knurl or groove, not for a press fit Leave clearance under the head for displaced material Add gussets when the boss is tall and loaded in bending Material Behavior Under Heat Amorphous resins such as ABS and PC soften gradually and tolerate a wide process window. Semi-crystalline resins such as PA66 and POM pass through a sharp melting range, so the window narrows and control must be tighter. Glass-filled grades conduct heat differently and resist flow, which raises the force needed to form the stake. Hygroscopic...
read more
30Oct2026
What Really Drives Injection Mold Cost? Design Complexity, Not Steel Alone
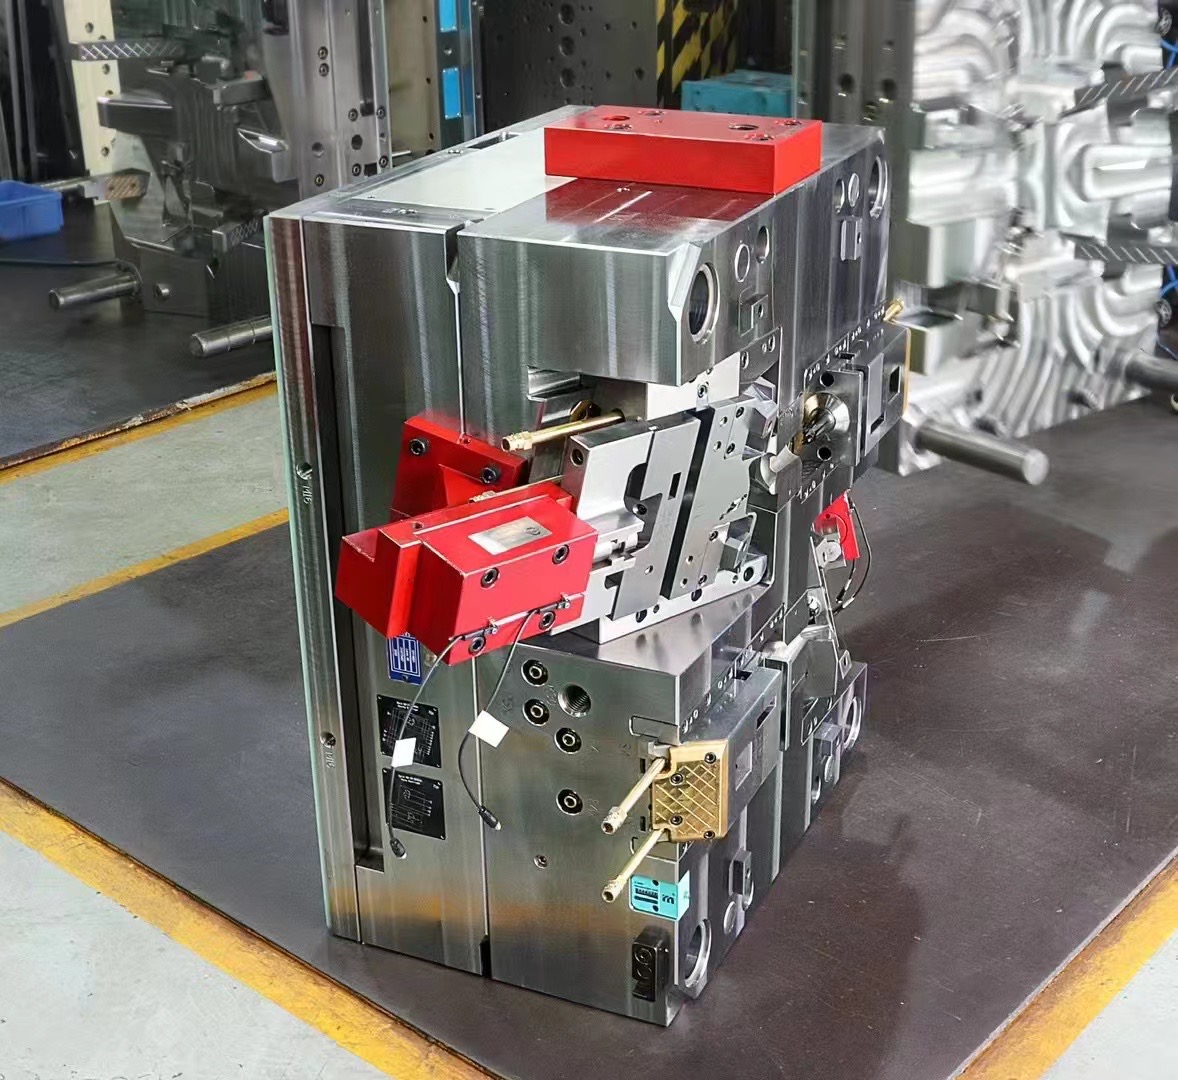
When a quote looks high, the first instinct is often to ask for cheaper steel. That question usually misses the main driver. Steel is a line item, but the structure of the part and the tooling it requires decide most of the price difference between two suppliers. How Much of Injection Mold Cost Is Steel For most small and medium tools, steel accounts for roughly 10 to 20 percent of the total price. Moving from P20, H13, S136, or NAK80 to a premium brand raises the material line, but it rarely causes a dramatic jump in the overall project. Machining hours, design engineering, electrode work, polishing, fitting, and trials consume the rest. Design Complexity Drives Tooling Hours A straightforward part can often be produced with basic CNC milling and a simple two-plate tool. Undercuts, snap fits, thin walls, and intricate geometry change that. Sliders, lifters, hydraulic cylinders, and unscrewing mechanisms each add design effort, machining time, assembly, and maintenance risk. Two parts with the same envelope can differ by a factor of two in tooling hours because of features the buyer never sees in the quote. Tolerance, Cosmetic Standard, and Cavitation Tight tolerances demand better machines, more measuring, and sometimes additional process capability studies. High-gloss or textured cosmetic faces require careful polishing and, for textures, etched patterns that add cost. Cavitation multiplies cavity work and cooling layout, so a four-cavity tool costs far more than twice a single-cavity tool. Where Cheaper Quotes Come From A low quote may use lower-grade steel, thinner plates, simplified cooling, less polishing, or fewer trials. Some of that is legitimate for low volume; some transfers risk to the buyer. Ask what steel, what plate thickness, what cooling layout, and how many trials are included, then compare scope instead of headline numbers. Costs After the Tool...
read more
30Oct2026
Plastic Injection Molding Process: Key Design, Tooling, and Production Considerations
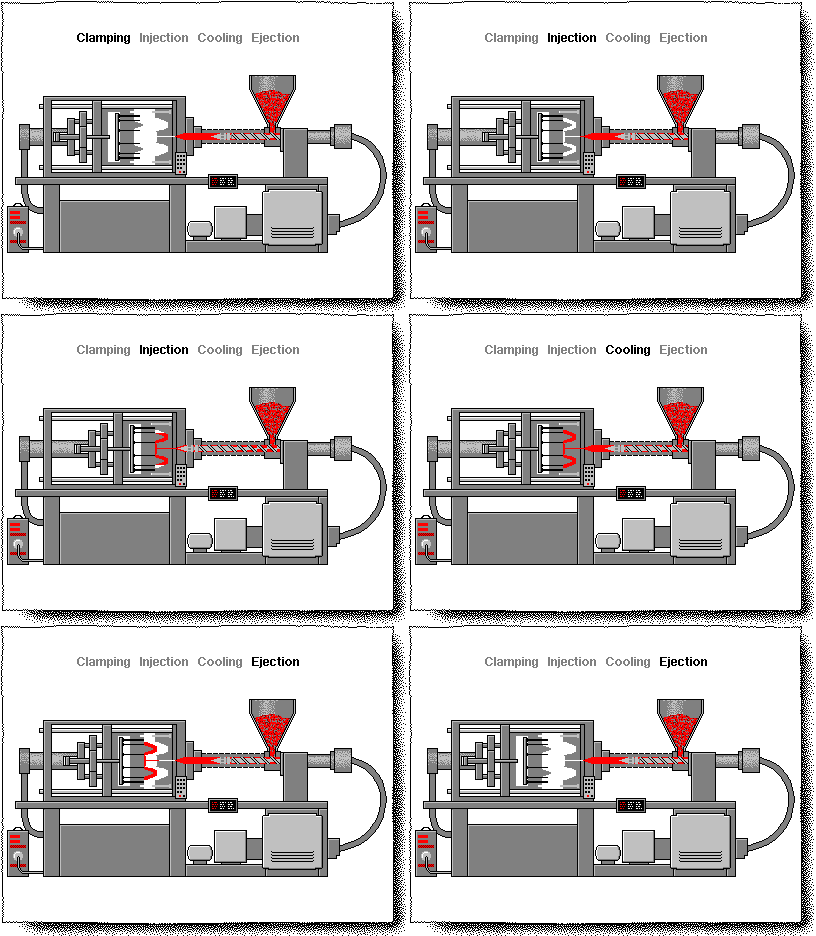
The plastic injection molding process turns a drawing into a repeatable supply of parts. Each stage hands a fixed input to the next, and a shortcut in one stage usually surfaces later as a defect or a schedule slip. Engineers and sourcing teams benefit from knowing what each step must deliver before it is signed off. Stage One: Design for Manufacturability Review The engineering team studies the 2D and 3D drawings, the specified material, and any special requirements such as appearance zones or regulatory marks. The review checks wall thickness, draft, undercuts, gate location, ejector placement, and tolerance stack. Open items are listed, and the design is adjusted until it can be molded reliably. A written DFM report gives both sides a record of decisions. Stage Two: Mold Structure and Tooling Fabrication Once the DFM is approved, the team issues a mold structure drawing covering parting line, cavity layout, runner system, cooling layout, ejection, and materials for core and cavity. Fabrication typically takes around four weeks, though the schedule depends on product complexity and the number of actions. Steel selection follows volume and resin: softer grades suit low-volume tools, while hardened steel supports abrasive fillers and long runs. Stage Three: Trial Runs and Process Validation First trials, often called T1, establish a process window. Molders adjust fill, pack, hold, and cooling while measuring short shots, flash, warpage, and dimensional results. Samples are inspected, and a corrective list drives tool changes. A validated process is documented with machine settings, material drying conditions, and inspection results so the next run starts from a known point. Stage Four: Material Handling and Drying Hygroscopic resins such as PA, PC, PET, and PBT absorb moisture that turns into silver streaks, splay, or reduced mechanical strength after molding. Drying temperature and residence time are resin-specific and...
read more
30Oct2026
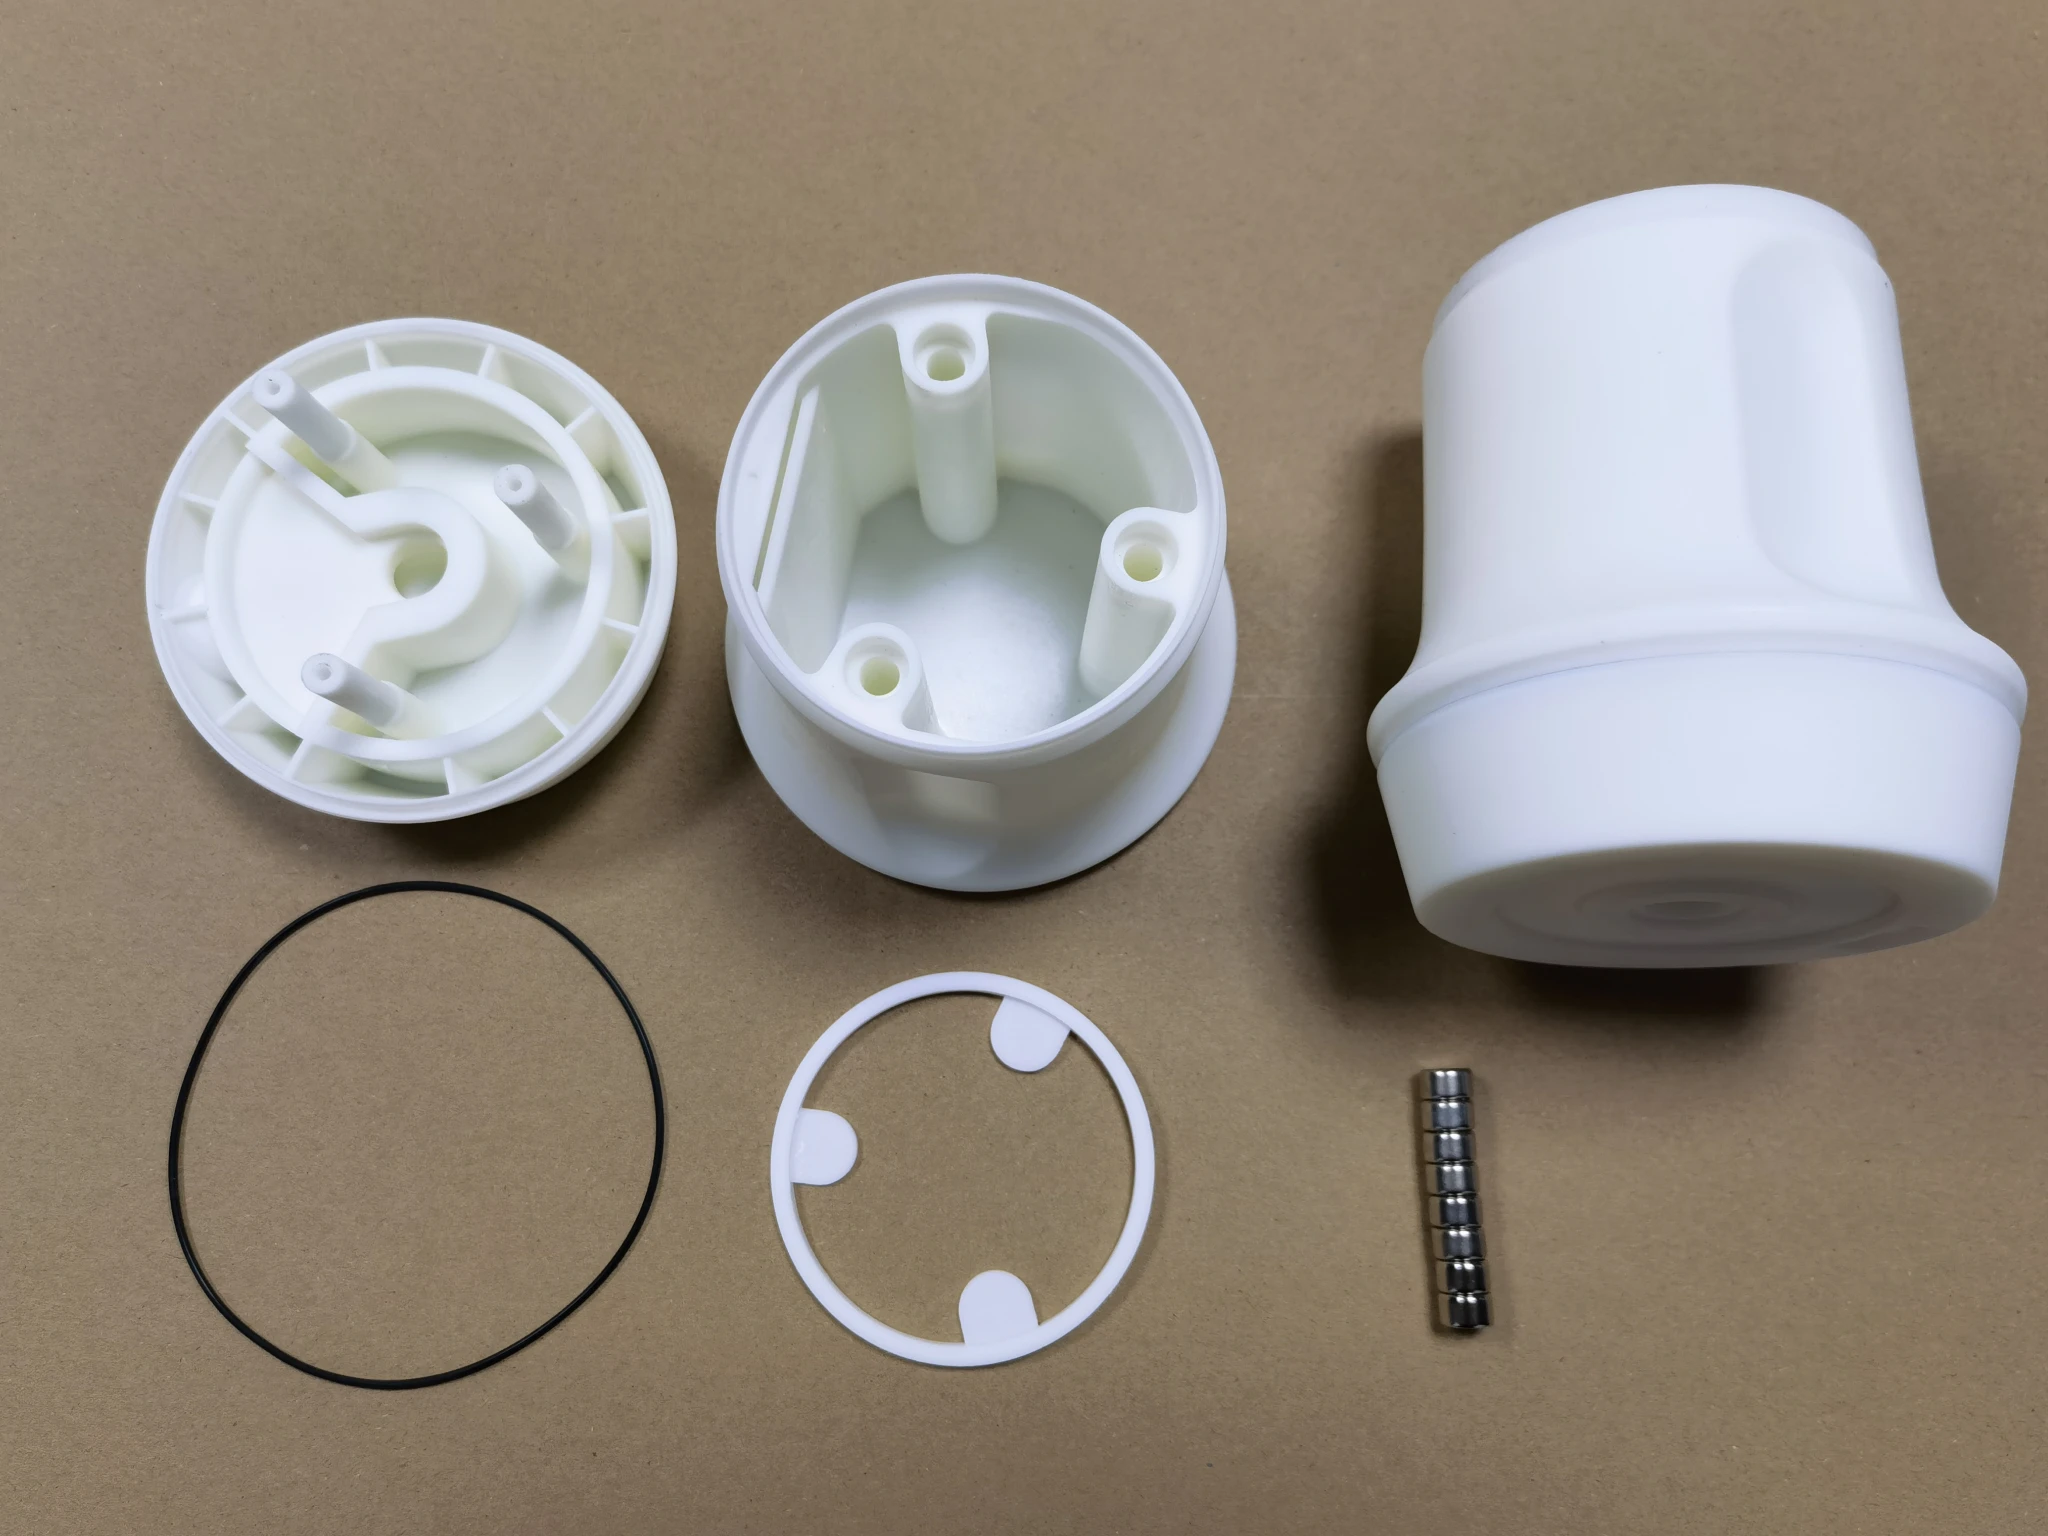
Premium Hookah Manufacturing: From DFM and Tooling to Soft-Touch Finishing
Premium hookah manufacturing sits between consumer product design and precision tooling. A hookah is a set of parts that must look flawless, feel solid in the hand, seal against water and smoke, and survive repeated cleaning. Each of those expectations translates into a tooling and process decision made months before the first shipment. Starting With DFM, Not With a Mold Consumer concepts often arrive with thick walls, heavy metal inserts, and cosmetic surfaces that cannot be molded as drawn. A structured DFM review questions wall thickness, draft, gate marks in visible areas, insert weight, and assembly sequence. In one representative program, more than twelve design changes cut part weight by roughly a third while keeping the structural feel the brand wanted. Material Selection for Body, Stem, and Base Bases and stems usually favor ABS or PC-ABS for impact strength and finishing response; transparent sections need PC or a clarified grade. Where the part contacts hot water or flavored liquids, chemical resistance and food-contact compliance narrow the list. Metal components, from threaded inserts to decorative rings, should be specified early because they set the overmolding plan. Tooling for Cosmetic Parts Visible surfaces demand polished cavities, generous draft, and gates placed where a mark will be hidden by a ring or a seam. Multi-cavity tools reduce cost per part but multiply the work of balancing flow so every cavity fills at the same rate. Texture and gloss are decided in the tool, not in the paint shop. Insert Overmolding and Two-Shot Assembly Threaded metal inserts are overmolded so the joint cannot loosen with use. Soft-touch grips are produced by two-shot molding, where a TPE or TPU skin is bonded to a rigid core in the same tool. The alternative, bonding a separate grip, adds labor and a peel-failure risk that shows up...
read more